Windows Vista లో క్రొత్త పార్టీషన్ క్రియేట్ చెయ్యటానికి ఈ క్రింద చెప్పిన విధంగా చెయ్యండి:
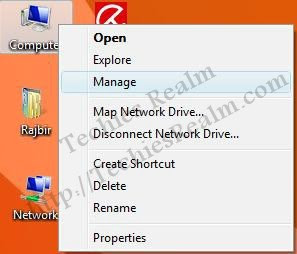
1. Right click ‘Computer’ icon on your desktop or in Start menu & click ‘Manage’.
2. Enter the Administrator’s credentials in the UAC prompt.
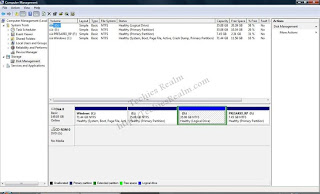
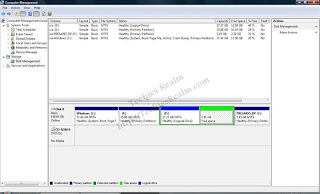
3. The Computer Management Window will open. Click Disk Management on the left panel.
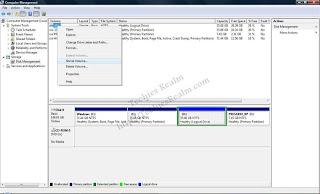
4. Right click on the partition from which you want to create another partition & select ‘Shrink Volume’.
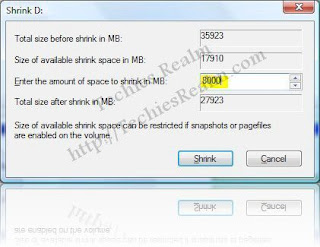
5. Enter the shrink size.
6. The selected drive will be shrinked & free space will now be shown in the Computer Management window. You can create as many partitions as you wish.
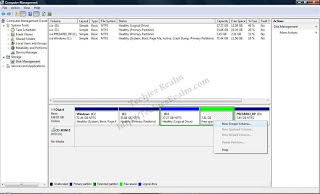
7. Right click the Free Space & select ‘New Simple Volume’.
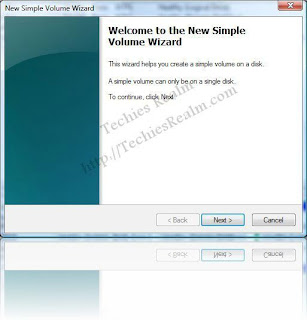
8. The New Simple Volume Wizard will now appear. Click ‘Next’.
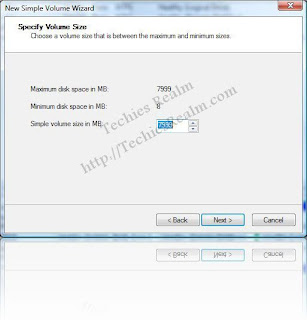
9. In the next window enter the desired partition/volume size, if you want to create multiple partitions & click ‘Next’. If you want a single partition just click ‘Next’.
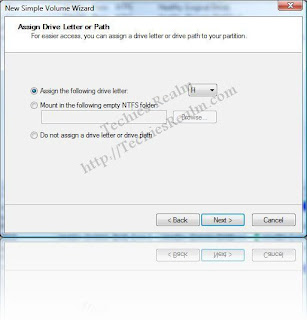
10. In the next window assign the drive letter or, if you are not sure, leave it as it is & click ‘Next’.
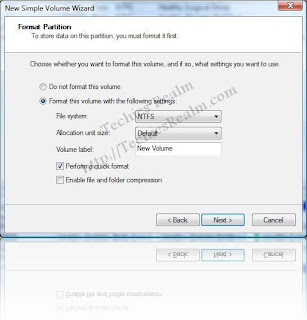
11. Set the file system to FAT32 or NTFS, Enter the label if desired, select ‘Quick Format’, in the next window, and click ‘Next’.
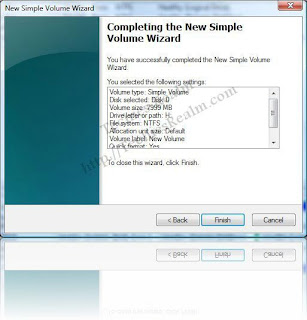
12. Click ‘Finish’ in the next window to finish the New Simple Volume Wizard.
13. The new partition is now created & shown in Computer Management window.
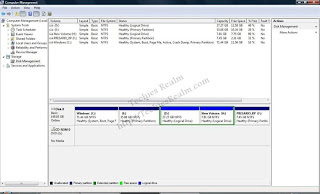
You can now access the new partition in the Computer.
సోర్స్: డిజిట్ ఫోరమ్
ధన్యవాదాలు


